Indian quick and easy recipes
Corn and Chicken popcorn
 These golden, crunchy, sized niblets made of my corn and chicken makes a great appetizer for a party menu.
My kids loved this snacks and they enjoy these mixed niblets bites of corn and chicken together. This recipe was inspired from Khana khazana show and I tried it at home and its was worth the efforts as not only my kids but my hubby too enjoyed it like anything.
Try this yummy light and crispy corn and chicken popcorn at home and do leave me your feedback.
Prep Time : 15-20 minutes
Cook time : 20 minutes
Serve : 4
Chicken and Corn popcorn Recipe
To marinade chicken
3/4 cup finely chopped boneless chicken
1 tsp red chilli powder
1 tsp pepper powder
1 tbsp ginger garlic paste
1 tsp soya sauce
1 egg
1 tsp lemon juice
2 tbsp all purpose flour (maida )
1 tbsp cornstarch
salt to taste
To marinade corn
1/2 cup corn kernels boiled
1 tsp red chilli powder
1 tsp pepper powder
1 tsp soya sauce
1 tsp chaat masala powder
2 tbsp all purpose flour (maida )
1 tbsp cornstarch
salt to taste
For garnishing
1 cup spring onions finely chopped.
4 soup spoons
1 tsp red chilli powder
1 tsp chaat masala powder.
Directions || How to prepare Chicken and Corn Popcorns
In a bowl combine chicken , red chilli powder , ginger garlic paste , pepper powder ,soya sauce and salt as per taste and combine the ingredients well.


Break an egg to the chicken mixture and mix.

Now add 1 tbsp cornstarch, 2 tbsps maida and 1 tsp of lemon juice in the chicken mixture bowl and mix. Add 1-2 tbsps water and mix well.


Allow it to marinade for some time (30 mins – 1 hour)
In a another bowl similarly combine corn , red chilli powder , pepper powder,chaat masala powder ,soya sauce ,1 tbsp cornstarch, 2 tbsps maida
and salt as per taste and combine the ingredients well.


Allow it to marinade for some time (30 mins – 1 hour)
Deep-fry marinated corn kernels in hot oil till golden. Drain on absorbent paper.

 Next deep-fry chicken pieces in same hot oil till golden. Drain on absorbent paper.

In the meantime set your serving platter by placing 4 soup spoon on it and garnish the platter with spring onions,
Mix the corn and chicken popcorns together and double fry fried chicken pieces and fried corn kernels together in the same hot oil till crisp.
Drain on absorbent paper.
Transfer them into a bowl and put some chaat masala, chilli powder and remaining chopped spring onion greens and mix well.

Put some fried chicken pieces and fried corn kernels mixture in each lined spoon and serve hot !!!!
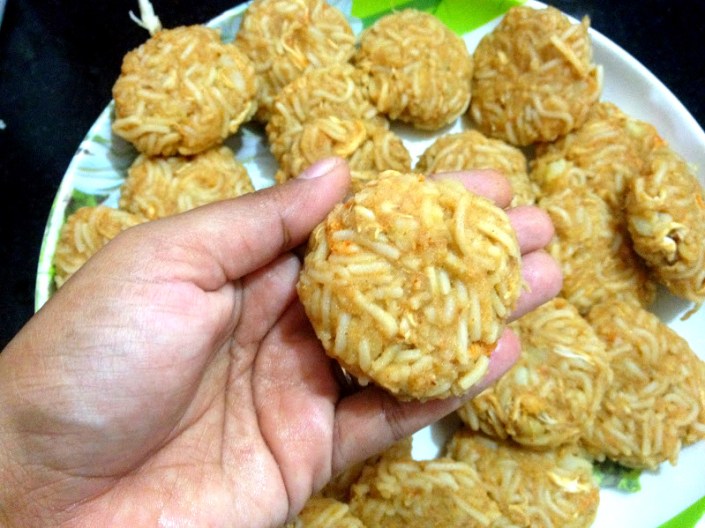
Chicken Noodle kebabs
 Noodle Chicken kebabs one of my favorite appetizer as this kebab brings a new variety and a yummy twist in kebab category which is nothing but noodles.These chicken kebabs made with noodles, chicken and potato go as an excellent dish for Iftari party or a starters. I am sure your guest will be quite impressed by this dish. Especially our junior guest kids love to eat such different and wonderful tasted food. This recipe was first introduce to me after my marriage by my in laws during Ramadan month and I was quite amazed as it tasted yummm !!!
Try this for sure , as its very simple easy and quick recipe as well as it tastes delicious !!!
Preparation time :20 mins
Cooking time :10 mins
Serves : 4
Ingredients
1 Hakka noodles medium size packet
3 medium size potato boiled
250 gm boiled chicken shredded
1 tsp red chilli powder
1 tsp garam masala powder.
1 tsp ginger garlic paste
1 tsp soya sauce
1 tsp vinegar
1 egg for coating
Salt- as needed
Oil for cooking
Directions || How to prepare Noodle chicken kebabs
Boil the noodles in required water.Meantime keep the boil potatoes ready.


Take the boiled noodles,in a wide mouthed bowl and mix boil mash potato as well as boiled shredded chicken
and add all the other ingredients red chilli powder , garam masala powder ,ginger garlic paste , soya sauce , vinegar and salt.


Mix them well to prepare a soft dough. Do not add a single drop of water to it.

Make small even sized balls and pat it to make a small circle shape kebab.
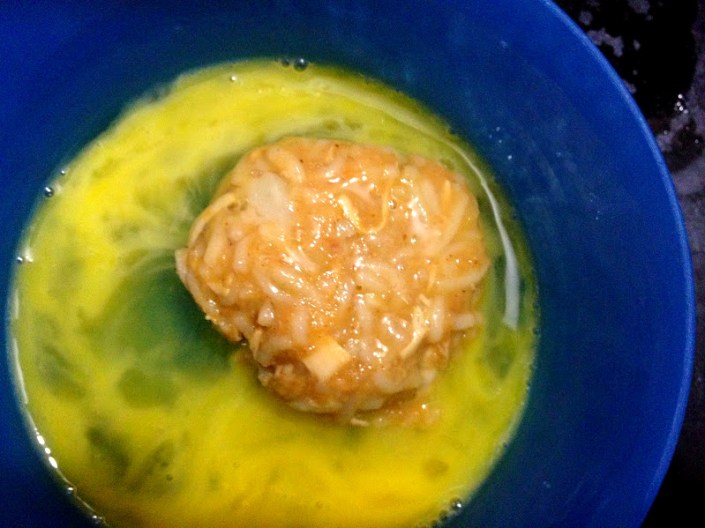
Dip a few balls at a time in the whisked egg till they are evenly coated from all the sides.
Heat the oil in a kadhai and deep-fry the kebabs a few at time on a medium flame till they are golden brown in colour from all the sides.
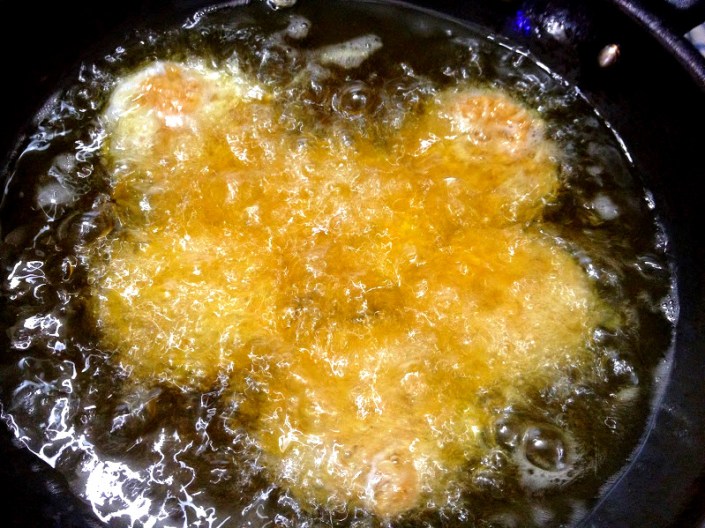
Drain on absorbent paper.

Serve it hot with tomato sauce , its different !!!
Green chicken/Hariyali Murgh
 Green chicken/Hariyali Murgh is a nice change from usual red chicken curries which we usually made at home.
Its a delicious mild spicy and full thick gravy cooked in coriander ground paste which adds a great aroma to this dish.
What is special about this recipe,the curry is very simple to prepare yet it looks and taste like restaurant dish.
Try this flavorful ,delicious curry which goes very well with roti or plain rice.
Check out this step by step recipe and do leave me your feedback.
For marination : 30 mins
Preparation time :15 mins
Cooking time :30 mins
Serves :4
Ingredients
250 gms boneless chicken
1 tsp ginger garlic paste
Salt to taste
2 tbsp. oil
1 tsp red chilli powder
1 tsp garam masala powder
1 tbsp dahi(curd)
2 hot green chilies
1 bunch coriander leaves
2 medium size onions finely chopped.
Direction || How to prepare Green chicken /Hariyali Murgh
Marinade the 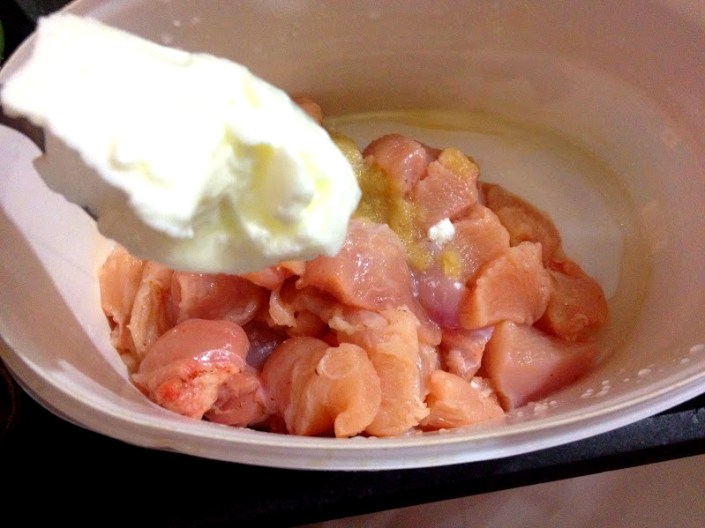 chicken with ginger garlic paste and curd for 30 minutes.
Add the finely chopped onions , green chillies ,coriander ,red chilli and garam masala powder and salt to the grinder and grind to a smooth paste.


 Heat a pan with oil, add green masala paste, fry for 2 mins to get a nice aroma.
Cook the masala well for 5 to 10 mins on a medium flame.

Now add chicken to the masala and cook for another 2 min fry till it turns white in color.
Cover and cook for 2 to 3 mins to release the moisture,this way the aroma of green masala and spice is absorbed by the chicken.
Add very little water to the masala and salt. and cover and cook till the chicken is fully done and the desired consistency is achieved.
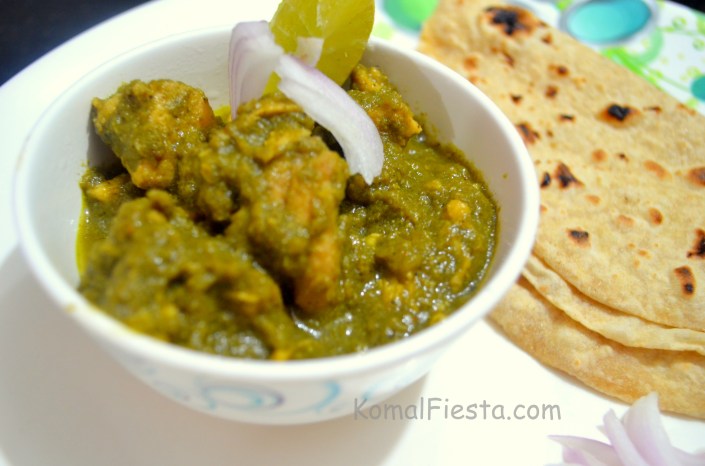
Serve hariyali chicken with Rice, roti or pulav.
Rava Cheese Balls
 Looking out for a simple quick and easy starters/snacks here you go Suji/Rava Cheese balls makes a great starter recipe and will be loved by all age groups. As its a Ramadan month many of you must be looking out for a new appetizers as well as planning for any iftaari party , you can surely try this out at home.
I got this recipe from one of my friend when we had a potluck lunch in office and trust me they were amazing . I just loved it and wanted to try it from quite a long time at home.
So try this crunchy soft centered cheese balls with a combination of rava/suji. Please check the step by step recipe of rava cheese balls.
Recipe courtesy : Shreyoshri Banerjee
Ingredients
2 tbsp butter
2 1/2 tbsp all purpose flour (maida)
1/2 cup milk
3/4 cup rava(roasted)
1/3 cup processed cheese
1 tsp ginger garlic paste
1/2 tsp red chilli powder
1/4 cup finely chopped coriander
salt to taste
oil for deep-frying
To Be Mixed Into A Batter
1 cup plain flour (maida)
3/4 cup water
Heat the butter in a deep non-stick pan, add the milk and allow it to boil well .

Now add the rava in the hot milk and allow to simmer till the mixture thickens and leaves the sides of the pan, while stirring continuously.

 Remove from the flame and add ginger garlic paste ,coriander, red chilli powder ,
grated processed cheese (I used cheese spread as i couldn’t arrange any cheese cubes) and finally salt. Allow it to cool completely.


Once cooled, mix well and divide the mixture into 15 equal portions and shape each into a round ball.Dip a few balls at a time in the flour-water mixture till they are evenly coated from all the sides.


 Heat the oil in a kadhai and deep-fry the balls a few at time on a medium flame till they are golden brown in colour from all the sides.


Drain on absorbent paper.

Serve immediately with tomato ketchup or any sauce of your choice.
Kiwi Banana Milkshake
 Having Kiwi fruit has many health benefits in the month of Ramadan since fasting can also lead to increased acidity levels, which might lead to indigestion.The actinidin contained in kiwi fruits can also help aid in the digestion of foods that are of dairy, meat and legume source hence I prefer to have this fruit but normally they are little sour in taste , so I don’t enjoy them much. Yesterday I found the Kiwi’s at home were little ripe.I just didn’t wanted to discard them off , I thought of preparing its milkshake but with Banana and to my surprise I discovered Kiwi and bananas go together very well.
So If you have super-ripe and sweet bananas that are either fresh or frozen and your Kiwis have ripened so that they are quite sweet too, instead of super-tangy, then combine the two together in a blender this is what you get – a truly healthy sweet milkshake
It was already sweet that I didn’t have to add any sugar at all and that’s how good it is. Do yourself a treat and make this milkshake today!
Ingredients
1 cup Milk
2 Kiwis (preferably ripe and sweet – but if you slightly tangy Kiwis, they’re fine too!)
2 Bananas (ripe – fresh)
1 cup crushed Ice
1 tbsp honey
Optional ingredients.
1/3 cup yogurt(for smoothie)
Sugar, to taste
Directions || How to prepare Kiwi-Banana milkshake
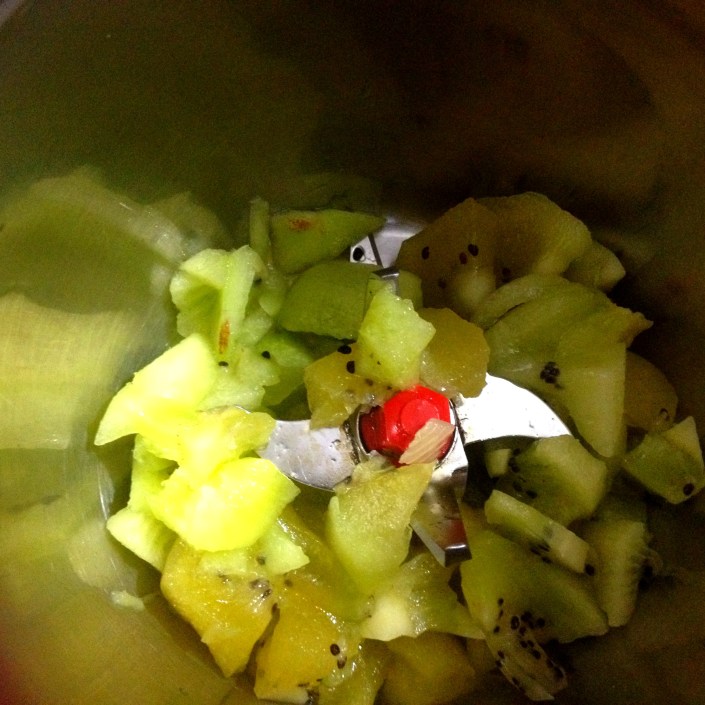
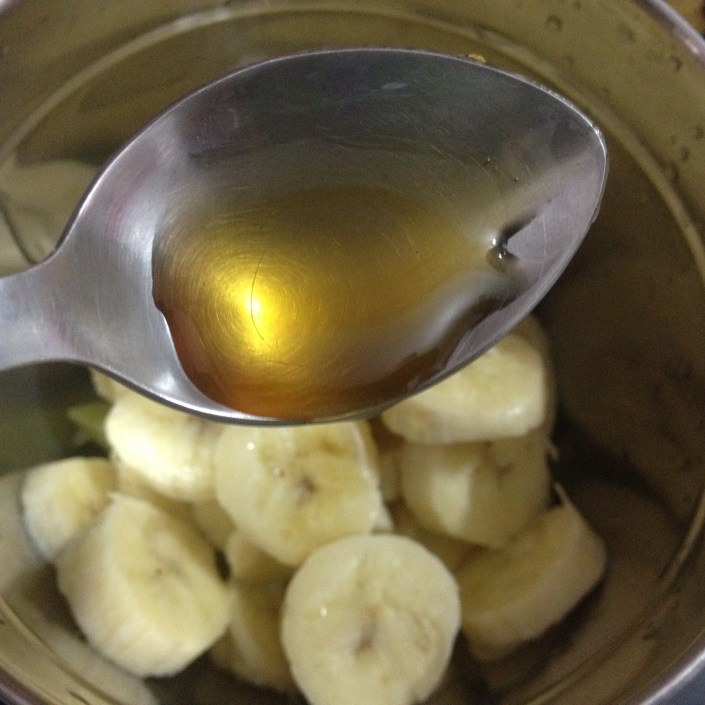
Cut the kiwi and banana into small pieces and add it in a blender.
Then add 1 tbsp of honey to it.
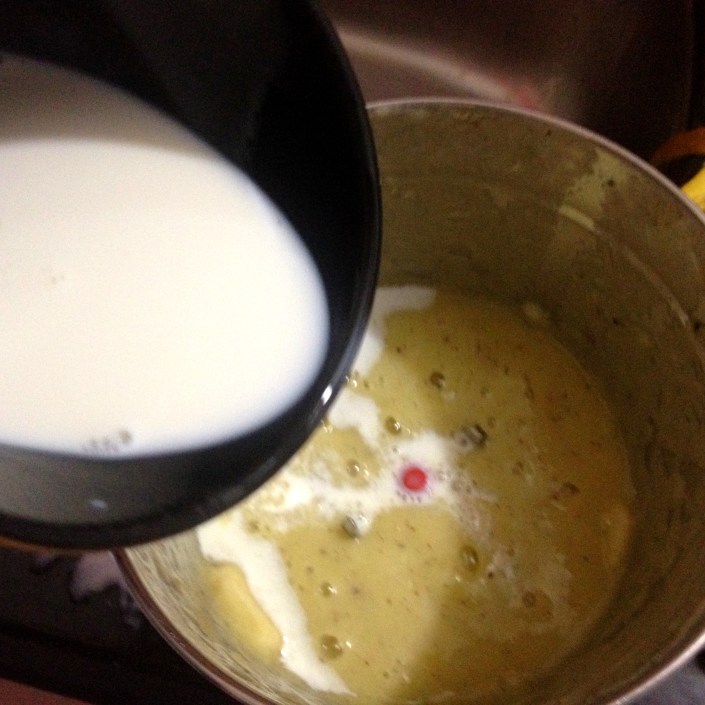
Blend them together to form a puree well.
Then add 1 cup of milk,crushed ice and a little sugar as per the sweetness desired and just blend.
Ta -dan .. your healthy Kiwi-banana Milkshake ready . Serve immediately and Enjoy !!

Note : If you need to prepare a smoothie of it , just add 1/3 cup of yogurt and just give it a blend. Your delicious smoothie ready !!!
